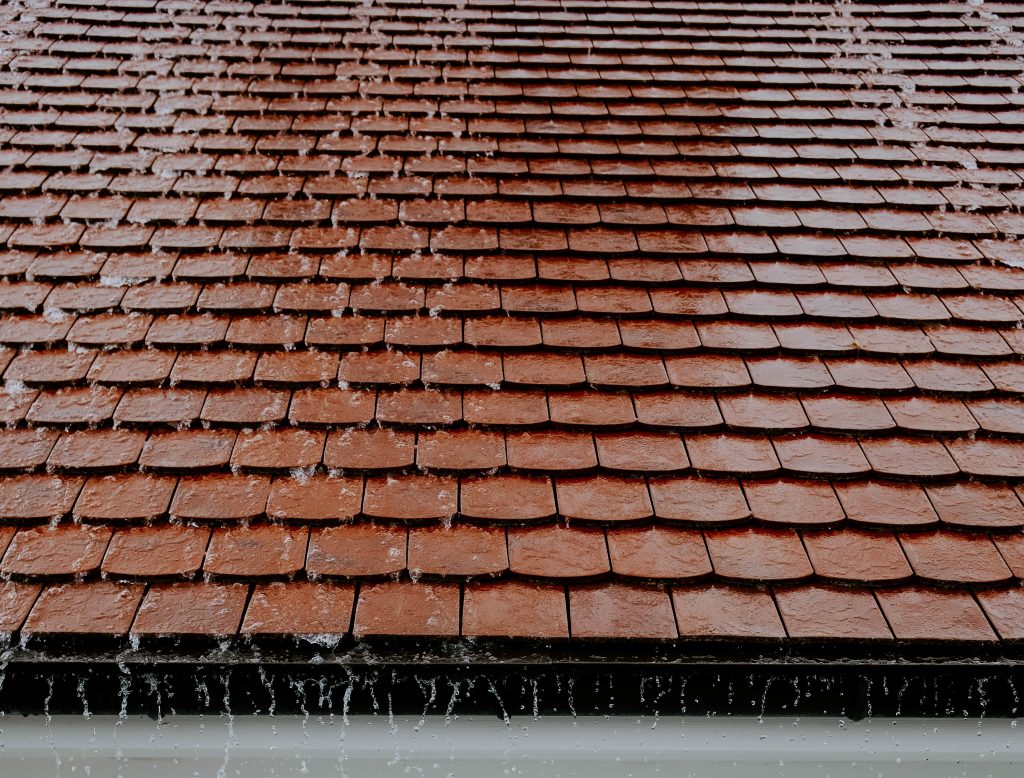
Installation of drip edge on roof shingles can help to protect your fascia from damages by water. To ensure that your house’s roof drains water correctly, you need to install a drip edge. Notably, the drip edge installation is done around the whole roof perimeter.
The edges hold down the underlayment and create a waterproof seal around the roof’s edge. The non-corrosive and non-staining edges make your roofing system stable and appealing. This guide explores the right procedure on how to install a roofing drip edge.
Let’s get started!
How to Install Roofing Drip Edge on Shingle Roofs
Drip edging channels water away from the fascia and into the gutter to stop damaging your house roofing underlayment. If you don’t have drip edges on your shingle roof, consider having one installed as soon as possible.
Here is a guide on how to install drip edges, including the tools and materials required.
Safety and Tools
It is crucial to put property safety measures in place before you start your job. Consider securing yourself with a harness dependent on the roof’s pitch and height. Before you start the job, installing the drip edge requires the following materials in one place.
- Chalk line
- Drip edge
- Hammer or nail gun
- Harness or scaffolding
- Ladder
- Measuring tape
- Pencil
- Roof shingles
- Shingle nails
- Staple gun
- Starter strip
- Roofing cement
How to Install Drip Edge on Existing Roof
If there are existing old drip edges, do away with them by carefully lifting the shingles. The steps below will then follow:
- Find the nails holding the old drip edge and remove them out with a pry bar or hammer.
- Jerk old drip edge pieces.
- First, fix the new drip edges on the attics.
- Slip drip edges underneath the felt underlayment and shingles. Each piece should overlap the other by one inch.
- Drip edges should spread beyond the roof decking by 3/4 of an inch.
- Use a roofing nail to nail them in place.
- Cut off ends flush with the roof.
- Smear some roofing cement on top of the drip edge and press the shingles and underlayment against the glue.
- Once you are through with the eave edges, start working on the gable edges.
- Drip edging on the gable edges goes over the felt underlayment but under the shingles.
- Overlap the gable drip edge pieces by one inch or more. Ensure the overlapping edges are in a similar direction to the flow of water.
- Nail the edges in place.
- At the top of the gable, cut one drip edge even with the roof. Cut the top piece on the other side one inch or more past the ceiling and bend it over the other part.
- At the bottom of the roof, place the gable drip edges over the eave drip edges.
Materials Used to Make Drip Edges
The building code requires drip edges to be non-porous or galvanized. Also, they are made of materials dependable on the metal roof. However, some drip edges are constructed out of vinyl, fiberglass, or plastic.
Aluminum Drip Edges
Aluminum drip edges aren’t as strong as steel but are the best options in coastal homes to prevent rusting. The drip edges come in different colors to match your house style.
Copper Drip Edges
Copper is among the best materials to make a drip edge since its solid and durable. Once used on your shingle roof, a copper drip edge gives your rooftop an exceptional look. Ensure it doesn’t exceed 0.69 mm or 20 ounces.
Galvanized Steel Drip Edges
Drip edges are made to be in contact with water and direct it to the roofing gutter. So, steel-made drip edges ought to be galvanized to prevent rusting. Due to its lightweight nature, opt for a 24-gauge sheet for the drip edge to stand harsh winds.
Types of Drip Edges
There are various types of drip edges on the market for shingles. When buying a drip edge, ensure you select a color and a material that connects with the rest of your home.
There are three significant types of drip edges, namely;
L-Style
The roof drip edges are twisted at the center similar to the letter ‘L,’ forming a ninety-degree angle. One end is positioned under the roofing material, while the other on the top of the fascia. Always use the L-style on a low-incline roof.
C-Style
The roof drip edges are bent like the letter ‘C’ to roll water away from the roofing deck. The drip edges are placed under the roofing material. Thankfully, they are ideal for roofs with no fascia boards.
T-Style
The T-style drip edges are more complex compared to L-style and C-style. They work well by keeping away water from shingles direct to the gutter. The T-style edges use an additional piece to form a triangular shape between your house and the roof deck.
Why you Need a Roof Drip Edge
Here are some of the benefits of installing a roof drip edge on your roof.
Direct Water Away from Fascia
Drip edges are essential components of a complete house. Since water droplets slightly stick together due to surface tension, drip edges take advantage of such forces. They use the water adhesive forces together with gravity to direct the water to the gutter.
Lack of drip edges makes the water stick to the shingles and finds its way under them to cause a leak. The water may cling to the fascia, causing rot or a leak in your home.
Protect from Wind-driven Rain
Strong winds push water around your roof. Ice and water protector and underlayment prevent wind-driven rain from damaging the roof’s surface. Drip edges compete with the wind on the edges.
Water effortlessly pushes water upwards before gravity pulls it down. This makes drip edges important once hanged at the roof’s edge to fight the wind-driven rain. A roof without drip edges can be compromised by such rain.
Final Words
Installation of drip edge on shingle roofs puts you away from possible damages hence saving you money. If you are re-roofing your house, ensure to have drip edges fixed. However, you can still make a drip edge retrofit connection after completing the roof. Contact us today for professional drip edge installation services.


