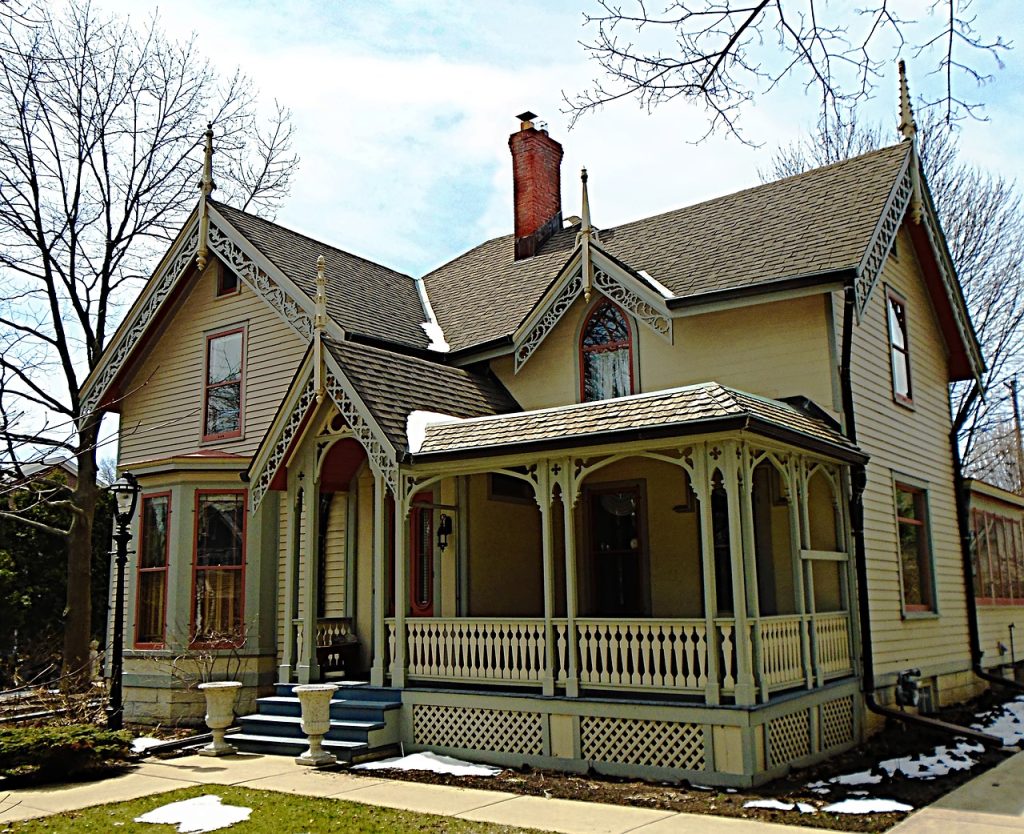
Installing a porch roof is an excellent way to improve your home’s curb appeal and value. Besides, the porch roof also protects you from the rain and direct heat while relaxing, giving you extra room to sit outside and enjoy the fresh outdoor air.
Now that you understand the benefits of a porch roof, you might wonder how to attach a porch roof to your house. The procedure might seem daunting, but it’s not when you follow the correct process or hire a professional roofer to help you do the job.
The good news is that this guide will show you how to attach a porch roof to a house. We’ll also mention all the tools and materials required to add the porch roof. However, you must have essential building and carpentry skills to DIY the project.
That said, let’s get started!
Things To Do Before Attaching a Porch Roof to a House
Adding a porch roof to an existing house can be hefty if you are not prepared. For that reason, you must prepare in advance for a seamless roof installation project.
Here is how to prepare for a porch roof installation project.
- Assemble the Necessary Tools and Equipment
As you think of how to attach a porch roof to an existing house, consider gathering all the essential tools and materials to ensure it’s a seamless process.
Here are the tools and materials you will require:
- Nail gun
- Lag bolts
- Roofing felt
- Roofing nails
- Roofing shingles
- Screwdriver
- Strand boards
- Utility knife
- Wooden beams
- Wooden planks
- Wooden rafter
- Comply With the Local Building Codes
The most vital thing to do before adding a porch roof to your house is to check the building codes in your region. They are the rules homeowners must fulfill to build, remodel, or renovate a house. Notably, the building codes tend to vary from place to place.
So, do the local building codes allow you to add a porch roof to an existing house?
If you are unsure about the local building codes, you need to inquire from the relevant authority in your region. That’s because some local building codes require homeowners to obtain special building permits when building, renovating, or remodeling a house.
The primary objective of the local building codes is to ensure that the roofing project aligns with the local community standards. Further, the building codes ensure that any construction project upholds the community’s health and safety values.
- Inspect the House and Existing Roof
When installing a porch roof on an existing roof, you should never ignore the importance of a roof inspection. Consider inspecting the point where you plan to add the porch roof. Unfortunately, most homeowners often skip this step and end up making errors.
A plausible reason for the inspection is to determine if you can modify the existing roof with a new addition. You’ll also find out if your roof is strong enough to support the porch roof extension.
Before the roofing project kicks off, ensure that the existing roof is strong and stable. If some parts of the roof are weak or rotting, you need to fix them before adding a porch roof. Also, remove all the items that may compromise the project, like the nearby trees.
- Evaluate the Porch Level
Is the porch’s surface flat? To build a perfect roof porch successfully, you must ensure that the porch is level. Unfortunately, most homeowners usually assume this step, thinking it’s unnecessary. As a result, they might end up building an unstable porch roof.
If you discover that your porch level is uneven, you need to fix the issue before adding the porch roof. That way, you’ll avoid the possible issues that might arise in the future and force you to rebuild the porch roof from scratch.
How to Attach a Porch Roof to a House
Now that you’ve prepared your house for a porch roof installation, adding the porch roof to your house won’t be challenging. Here are the steps to follow.
Step 1: Install the Supporting Posts
The supporting posts will hold up the new porch roof, as the name suggests. They can be columns or simple posts, depending on your preference. If you are handling the project without hiring a roofer, choose supporting posts that are easy to install.
Once you decide on the type of supporting posts to install, mark the ground where you intend to install them. After doing so, dig holes on the marked points, then insert the posts. Next, add concrete mix at the bases.
Step 2: Attach the Valley Board and Top Plate
Nail down a valley board on the existing roof. However, the number of boards you use will depend on the porch roof’s design. For instance, you’ll need more boards when you go for the hip-style porch roof. Conversely, a shed design requires a few boards.
After attaching the valley board to the existing roof, attach the top plate to connect the support posts. Also, the top plate will secure the support posts to the roof later. Ensure you measure the dimensions between the roof and the posts to get the rafters’ sizes.
Step 3: Attach the Rafters and Cover the Roof
Attach the rafters over the porch by nailing down one end to the valley board. Next, get the other end to meet the top plate connecting the support posts. Finally, you can attach the rafters using metal brackets or the birdsmouth joint technique.
After attaching the rafters, cover the porch roof using plywood sheathing for the first layer, followed by the second layer of shingles. Plywood is strong and can hold moisture for a very long time. Next, nail down the shingles to the plywood sheathing and rafters.
Final Words
Having a porch roof addition can be a hefty task if you don’t know how to attach a porch roof to a house. Thankfully, we’ve gone through all the steps to use when having such a roofing project. You need to get all the required tools and materials ready. Contact us today for professional roofing services, including porch roof installation.


