Installing a gazebo is a fantastic way to increase the overall curb appeal to your house and make your outdoor space more livable.
Not to mention, a high-quality gazebo that features a flat roof design that can add value to your garden and home.
Are you exploring the ins and outs of how to build a gazebo roof for your home?
As a homeowner, you should pay attention to the gazebo roofing process, as doing this will make the entire process much easier in the long run. Before getting to build the actual gazebo flat roof, it’s necessary to know about the various gazebo roof designs.
Types of Gazebo Roofs for Homes
Various types of gazebo roofs contribute to specific looks. One of the common types is the soft roof gazebo, a canvas. A soft roof gazebo is a great option when looking to save up on gazebo roofing. Usually, this gazebo has an opening at the front to enhance wind resistance.
The other type is the hard roof with a solid roof like metal or wood. Usually, these gazebos offer more protection. Hard roof gazebos serve you best when you observe all the roofing rules, such as removing snow.
Gazebo Roof Materials to Consider Using
You have plenty of choices when choosing a material for your gazebo roof. The various options for roofing materials ensure that you can refer to your taste and budget when roofing. Here are some common types of gazebo roofing materials.
Material #1 — Wood
Wood is the traditional material of choice for roofing a gazebo. You can go for wood if you want a roof that complements the rest of the structure. You can spice things up by getting it shingled when you decide to have a wooden roof gazebo.
A shingled wooden gazebo roof provides sufficient coverage from precipitation and heat from the harsh sun. The other option is trellised wood designed to filter sunlight through. The best thing about a wooden gazebo roof is that you can decorate it with vine plants.
Materials #2 — Metal
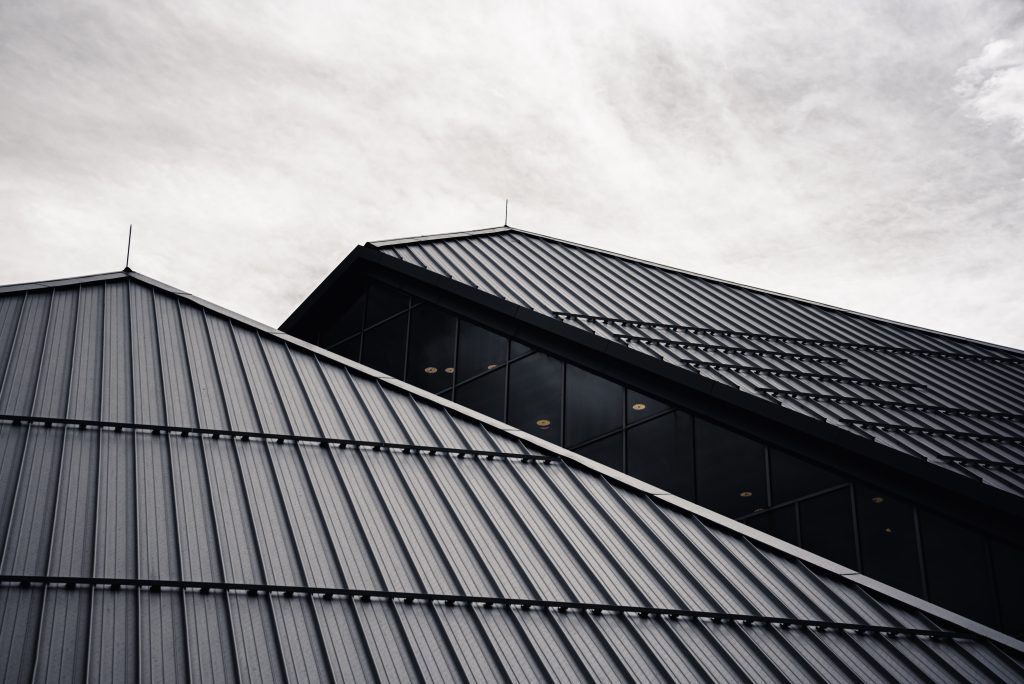
Steel or aluminum roofing for a gazebo is an excellent idea for durability. The only thing is that you must be willing to spend a considerable amount of money.
The price of a metal gazebo roof is worth it because it lasts for at least 25 years. You don’t have to worry about the dullness of the metal roof since you can get it designed to look like slates or tiles.
Material #3 — Glass and Plastic
Are you looking to have the opportunity to stargaze in your gazebo? Then consider having a glass or an acrylic plastic roof. Glass and acrylic plastic roofs are UV resistant, durable, and heavy, not to mention they have fantastic aesthetic qualities.
Plastic is exceptionally durable since it is waterproof and lightweight. With the various colors to choose from, you can get it in a color that complements your house and decor. Glass is better if you don’t want a scratched roof surface.
Material #4 — Fabric
Getting fabric roofing for your gazebo, whether it’s permanent or temporary, can look great. Fabrics are either canvas, acrylic, painted, or dyed duck. Some are vinyl-coated with waterproof and mildew-proof capabilities.
Now that you know about the options you have for gazebo roofing materials, the next thing is to learn how to build a flat gazebo roof.
How to Build a Flat Roof Gazebo Roof in Seven Steps
Pay attention when learning to build a gazebo flat roof. It’s a straightforward process that requires you to have experience in the basics of roofing.
Step 1
Drill holes into the wall that you plan to designate to support the gazebo. You will need a heavy-duty drill for this part. Ensure that you can operate the drill observing all safety requirements.
Once you have the holes drilled properly, you can insert the bicomponent epoxy resin. The compound is an adhesive that cures at room temperature. Proceed to insert threaded bars into one. The resin will hold threaded bars that are essential in the roofing process.
Step 2
Ensure that you have a supporter installed into the ground. The support will hold a post. After attaching the post to the support, ensure that you secure it using screws on both sides. It’s handy to have an assistant to help you lift.
Step 3
Finally, position the supporting beams using joints on the two pillars installed in the ground. Position the supporting beam to the wall, which is easier to pass the threaded bars through the holes. Secure the beam using tightened bolts.
Leave the pillars positioned property. Use a spirit level and measuring tape to ensure they are correct. Secure and set the joints as well using screws.
Step 4
Remember to position the planks to cover the roof. You have to be cautious when doing this. Drive the nails to secure the planks using a drill once you have finished positioning.
Step 5
You can introduce bitumen sheath. Unroll it on the planks and cut it to size using a cutter or knife. Remove the part of the sheath attached to the adhesive. Secure the material to the sides while on top, still using an adhesive. Fix the sides while laying the bitumen sheath facing up.
Step 6
Lay out the shingles and cut them to size. Remove the part attached to the adhesive and lay the shingles on the bottom sheath for the sealant to adhere to it. Ensure that the overhangs are secure at the edges.
Step 7
To finish building a flat gazebo roof, insert wooden caps to cover the holes you made at the beginning. Ensure you smooth out the caps to fit in with the wood.
How to Build a Gazebo Roof Structure — Final Words
Learning how to build a gazebo roof is easy, especially if you can get the beams precut.
The tools you need are not that complex to use, and there are minimal calculations you have to be familiar with. A flat gazebo roof could transform your outdoors, so why not try building one for your home.


