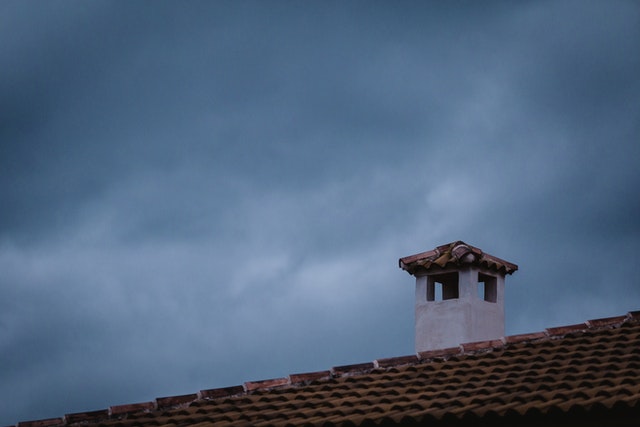
As a homeowner, you must never hesitate to fix water leaks on your roof.
The most likely thing that will signify roof damage from leaks around your chimney is stains on the ceiling. You’ll have to verify if the leak came from the chimney area and fix it.
Various sources will provide answers on “how to fix roof leak around the chimney,” but it’s best to meet with an experienced contractor, like one of the experts at Roof Master, to give you real solutions. Before paying for repairs, it’s best to find out what could have caused the leak in the first place.
Continue reading to learn how to fix roof leak around chimney structures in your home.
Possible Causes of Roof Leaks Around Chimney Structures
Mistakes when poorly installing a roof around a chimney result in problems with leaks. Other factors that could lead to roof leaks around the chimney include:
Inadequate/Nonexistent Flashing
Flashing gets applied at the chimney base where the stack meets the roof. It has to have a watertight seal on the stones or bricks. It’s common for gaps to develop between the roof and the chimney. The lack of flashing at those points allows water to penetrate and reach the roof.
It’s vital to use the right flashing when looking into how to fix roof leak issues around the chimney, such as lead flashing, which is sturdy and durable. Still, the materials are not resistant to all forms of physical damage. For instance, impact and debris could dislocate the flashing.
Missing/Malfunctioning Roof Cap
Roof leaks are guaranteed when a chimney does not have a cap to keep rainwater from flowing directly into the chimney. You must ensure a suitable cap that will allow the chimney to function like it’s supposed to while keeping water and debris out.
Issues with the Chimney Crown
The chimney crown lies at the top of the brickwork. It’s the cement cover where the chimney flue comes out. The crown prevents rain and other elements like snow from getting into the chimney. The crown can shrink and get damaged over time as the weather changes.
Small cracks may form during the expansion and contraction, which lead water into the masonry. At this point, the crown fails to perform as expected. Early detection of such gaps and application of sealants is the most effective solution.
Tools Required to Fix a Roof Leak Around a Chimney
The tools you will need to fix the leaks around your chimney will help you work on the flashing. Having the right tools ensures that you achieve repairs that last. When looking at the tools, you also have to think about safety. You will need tools like:
- Ladder
- Flashing sealant
- Wire brush
- Drill
- Caulking gun
- Utility knife
Besides knowing what causes roof leaks around the chimney and the tools necessary to repair them, you must know how to fix them. Even though there are experts who know how to handle leaky roofs, it’s essential to understand what they will do to your roof once you call them.
How to Fix Roof Leak Around Chimney
Here is a step-by-step list of instructions on how to fix a roof leak around a chimney:
Step 1: Position Your Ladder
The first thing you have to do is secure a sturdy ladder. Observe all safety protocols and look to ensure you have the right ladder size. Place it against the edge of the roof. An assistant is handy to watch the ladder or hold it as you ascend.
Once you have positioned it, extend it to its top about 3 feet above the roof’s edge. Do this to ensure convenient access as well as safety.
Step 2: Begin Your Inspection of the Flashing
Next, assess the flashing state on all sides, at the top and bottom of the chimney. Look for signs that show missing or bent flashing.
Don’t attempt to fix issues like those and instead call in an expert. You can take up fixing any other issues besides the ones mentioned earlier.
Step 3: Remove Debris
You will need a pair of gloves and a wire brush to remove debris. The debris you will have to eliminate is mostly old loosened caulking or sealants. Usually, this type of debris embeds at the upper edge where the flashing meets all the chimney sides.
Step 4: Set Up Your Caulking Tools
You can finally set up your caulking gun. It should have a tube of polyurethane flashing sealant. It has a unique way of operating where you have to make a ¼ inch opening at the tip of the tube using a utility knife.
Step 5: Apply the Sealant
The gaps between the edges of the flashing need a bead of sealant. It’s essential to use just the right amount of sealant, especially if you have a stone chimney. You fill the gap between the stones and the flashing for a stone chimney.
Step 6: Water Test the Area You Just Fixed
Once done and you have left your repairs to settle, you can test the repaired area with water. As you open the hose, ask your assistant to observe the ceiling near the chimney. Focus on the sealed gaps during your water test.
Run the test for about five minutes. It will be enough time to allow you to look for a leak. If there is a leak, you must leave the flashing to dry and reseal the gaps. You can perfume the water test again afterward until there are no more leaks.
Final Words on How to Fix a Roof Leak Around Chimney Structures
A minor roof leak around the chimney can become a significant issue. Any misplaced water movements in your roof undermine the integrity of that roof. Scheduling frequent roof inspections, especially after a storm, is best to spot a roof leak around the chimney.
If you can’t master the steps of how to fix a roof leak around the chimney, you should consider enlisting a roof repairs expert to tell you what to do. Repairing a roof leak around the chimney is easy.
The most important thing to know is which part is which.


